

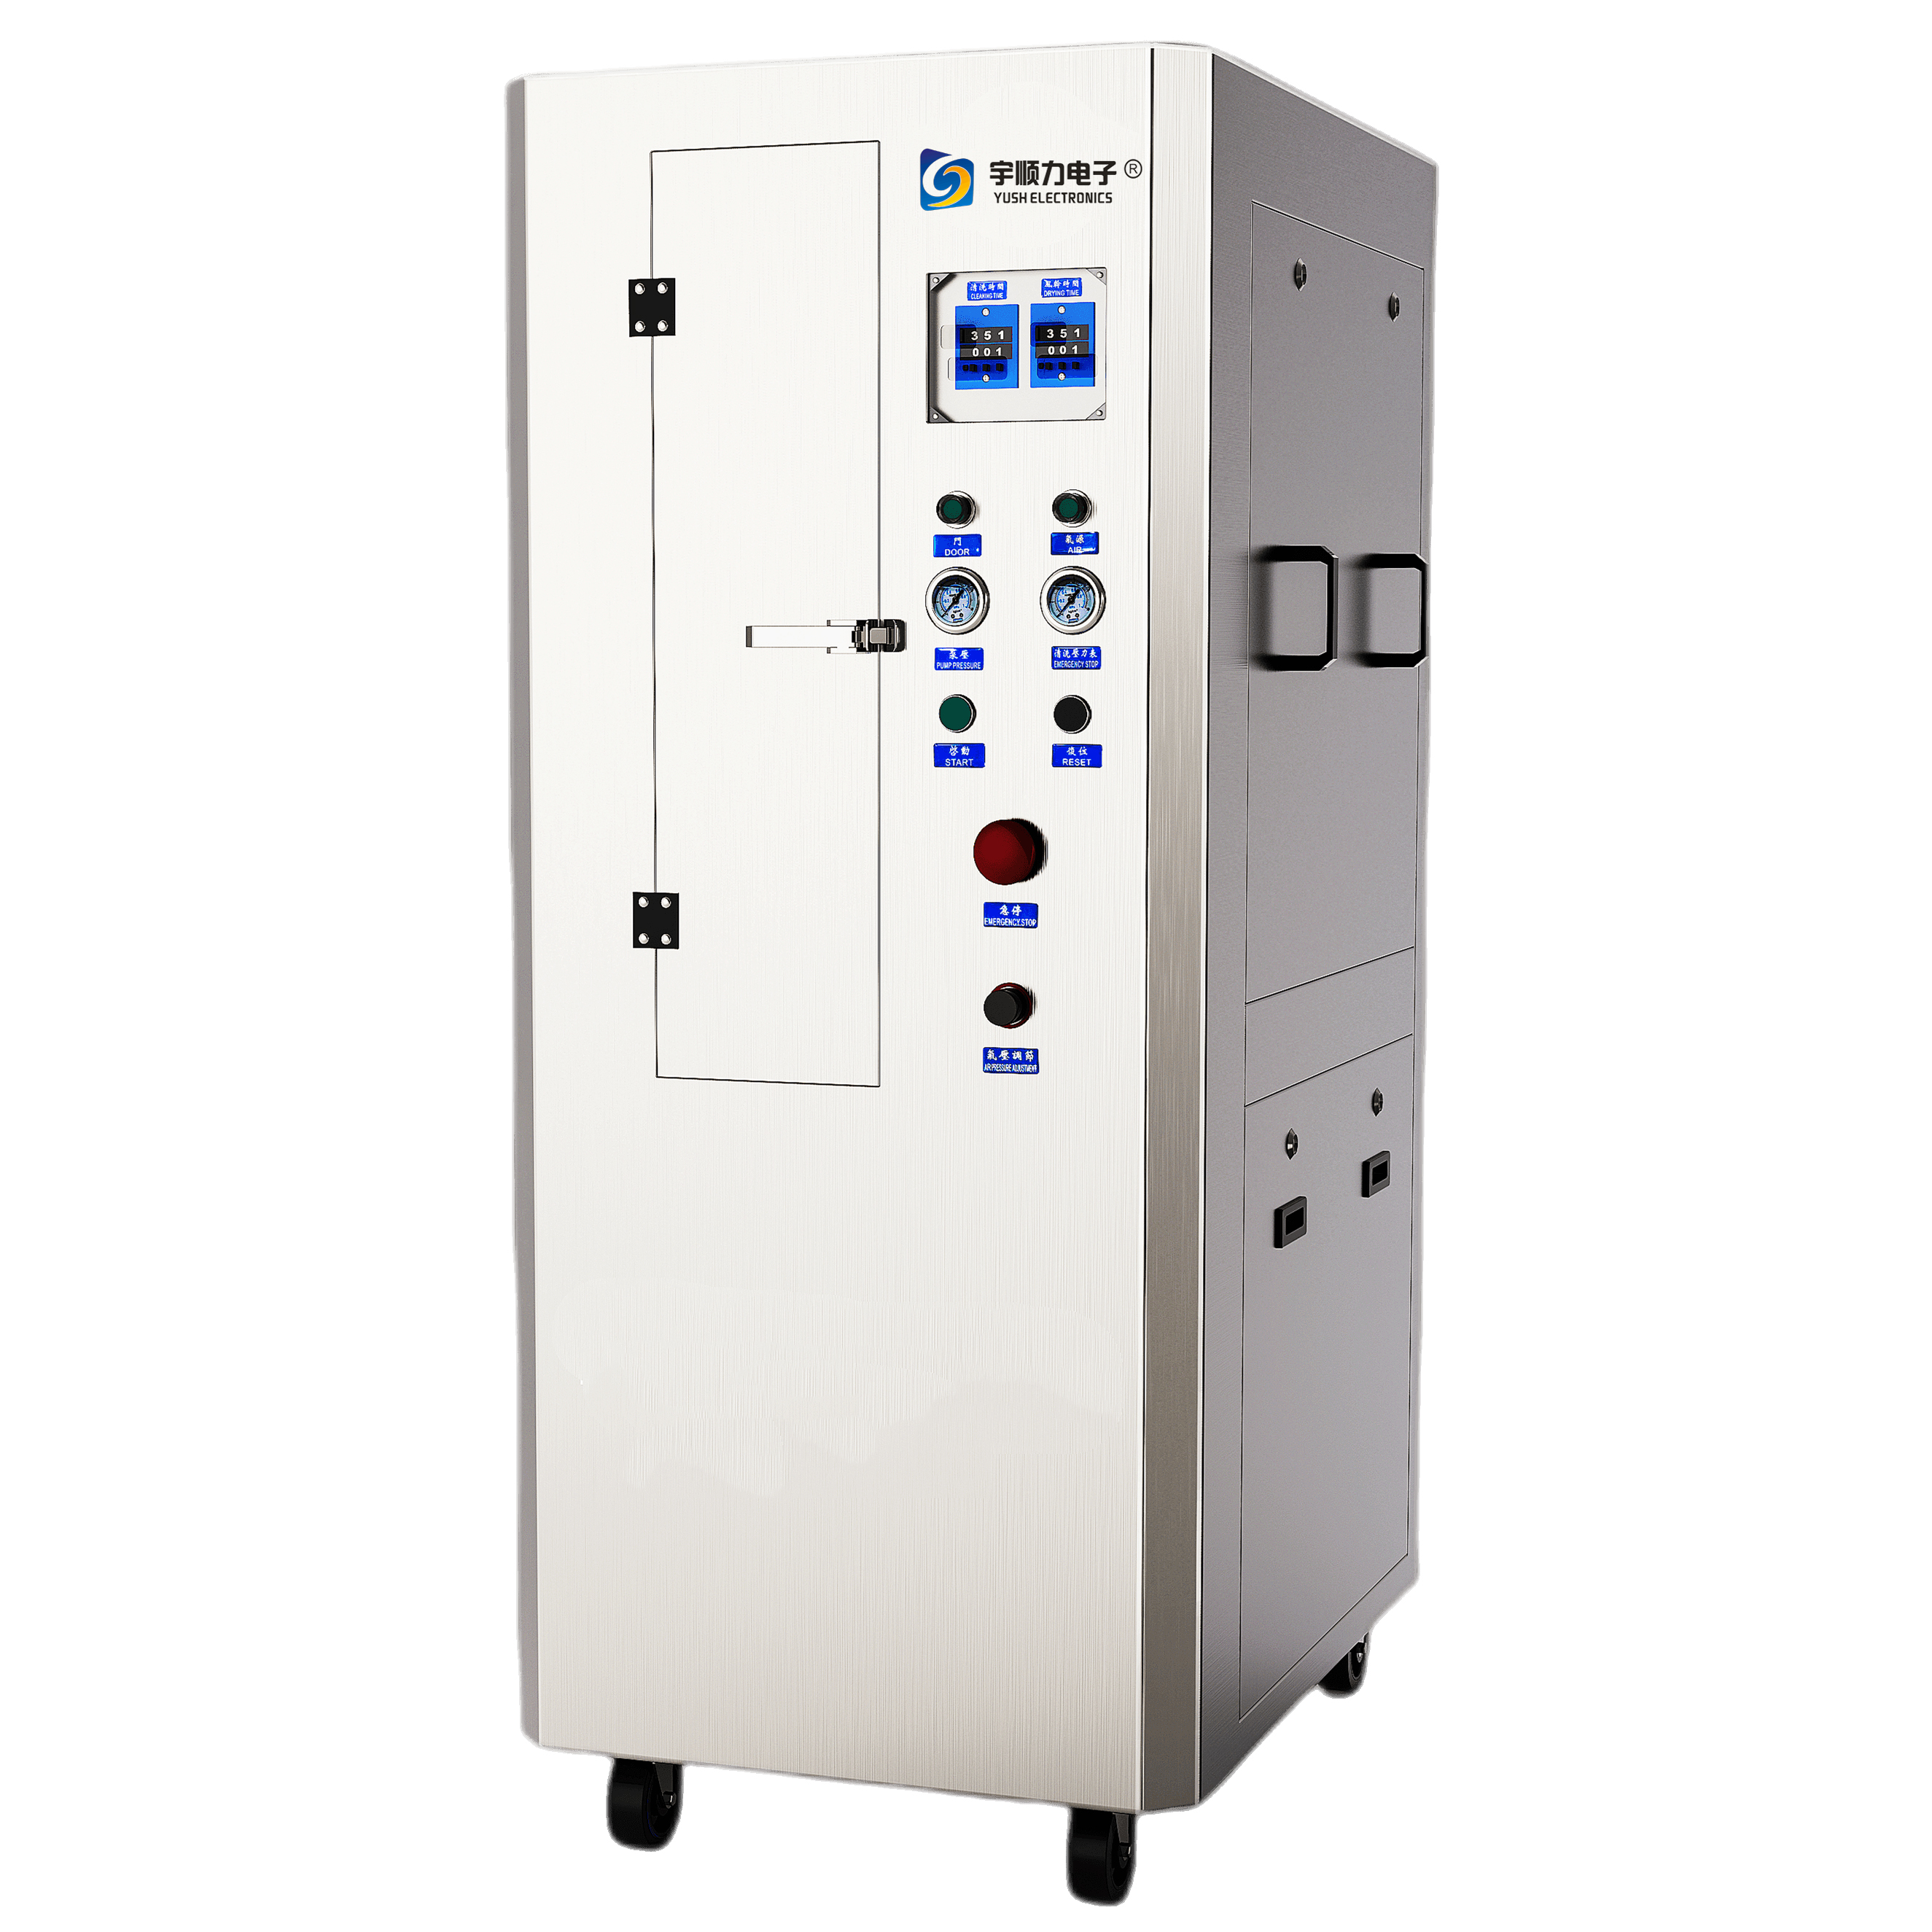
Equipment overview: for the electronic industry SMT steel mesh, copper mesh, wire mesh, microporous mesh and crystal disk and other types of screen cleaning;
The equipment completely uses compressed air as energy, does not use electricity, does not exist any fire hazard, adopts the humanized design, one-button operation, easy to complete the cleaning, drying work; Is a high performance pneumatic automatic cleaning equipment from cleaning to drying process, using air pressure automatic operation; The cleaning fluid is recycled, low loss;
Application field

Cleaning object
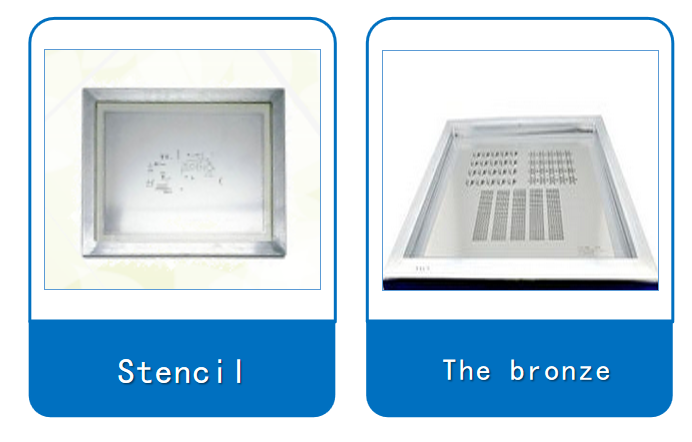
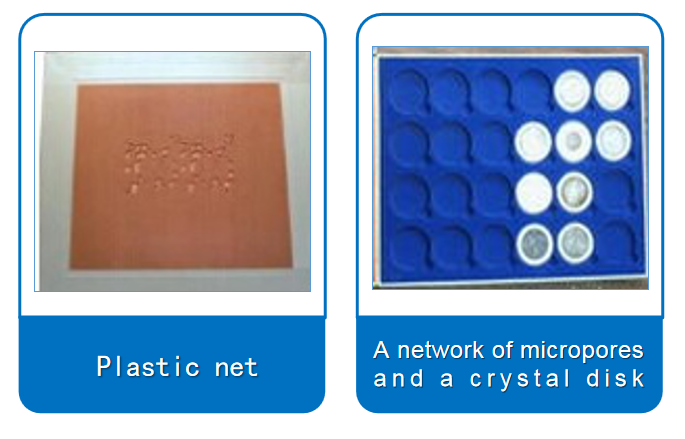
Cleaning process cycle diagram

Schematic diagram of the principle of steel net drying
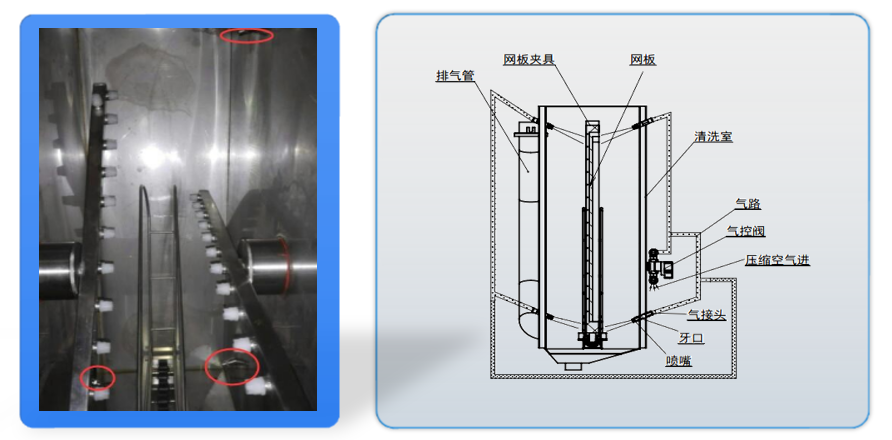
1.Side wall intake blow dry 2.Separate air and liquid passages
Product structure and function
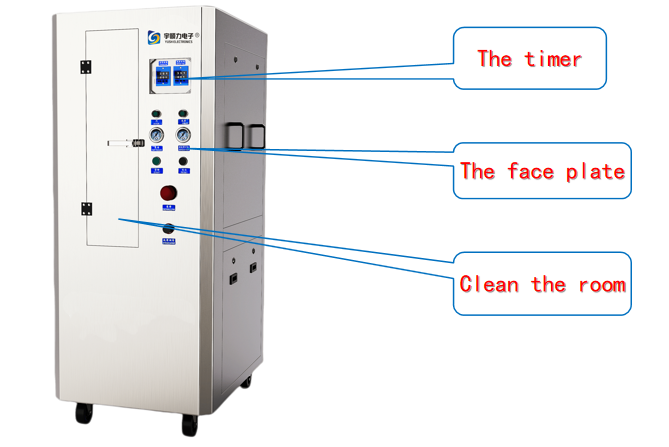
| Suitable for steel mesh size | L750 × W750 × H40(mm) 【Extra large size to order】 |
| Overall dimensions | L1000*W700*H1730(mm) |
| Maximum volume of tank | 50L |
| Optimum liquid usage | 40L |
| Cleaning method | 360°Rotary double side isobaric injection High pressure injection (cleaning + blow drying) |
| Cleaning time | 2-4min |
| The drying time | 2-5min |
| An external gas source | 0.4~ 0.6 (Mpa) |
| Gas consumption | 400 ~600( L/Min) |
| Exhaust port size | Φ125×H25(mm) |
| Filtration system (Level 1) | Primary filter element filtration: 10 µM (to filter impurities and labels) |
| Filtration System (Level 2) | Secondary filter element filtration: 5 parts (to filter solder paste and rosin particles) |
| Filtration system (level 3) | Three-stage filter element filtration: 1 rod (to filter solder paste and rosin particles) |
| Machine weight | 240KG |
Related parameters of the three-stage filter system
| Project | Filter | Brand | Filter element replacement cycle |
| Level 1 10μm | Impurities/Labels | HDX | 12 Months |
| Level 2 5μm | Tin ball/rosin pellet | HDX | 1~2 Months |
| Level 3 1μm | Solder paste/rosin particles | HDX | 1~2 Months |
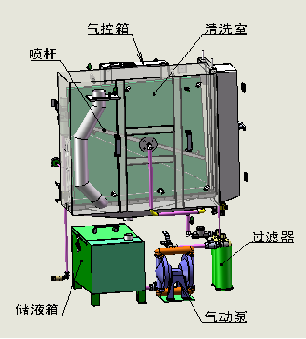
| Project | Parameter |
| Cleaning fluid | Alcohols, water - based solvents are suitable |
| Applicable to screen size | ≤A 29-inch screen can be cleaned |
| Cleaning time | 3-5 minutes |
| The drying time | 3-5 minutes |
| Consumption of cleaning fluid | 120ml/Pcs |
The product features
1. All stainless steel body: beautiful, wear resistance, corrosion resistance, in line with environmental requirements and standards;
2. Full pneumatic operation, no electricity, no fire and other safety hazards;
3. Side wall inlet and blow-drying design;
4. Humanized design: one-click operation and automatic draining function, the operation is very simple;
5. Replaceable modular controller and quick plug design, maintenance is also very simple and convenient;
6. Two-stage filtration system, low exhaust outlet and S-type exhaust pipe design: solvent circulation, low liquid consumption;
7. High density isobaric bilateral rotating cleaning nozzle, strong cleaning force, does not destroy the tension of steel mesh.
8. Systematic integration of global quality control devices, to ensure good quality, stable performance, long service life;
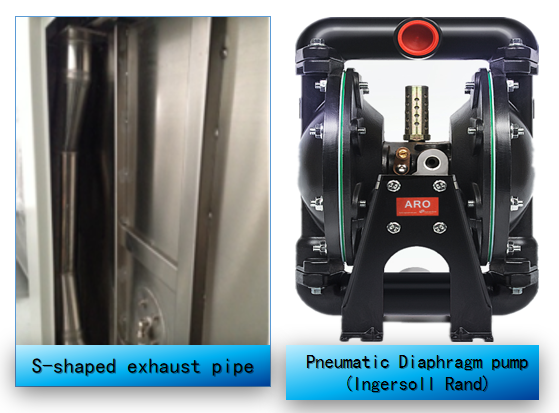
Maintenance and Maintenance
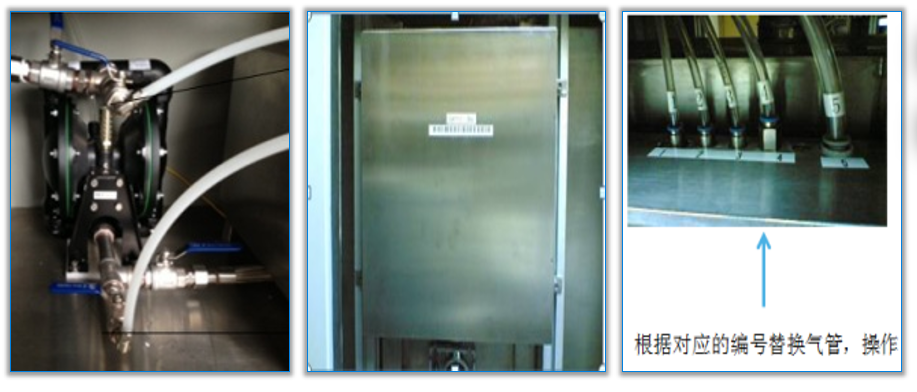
Replaceable modular controller and quick plug design, easy and convenient maintenance
1.Automatic filling and draining
2.Controller Maintenance
Replace the filter element:
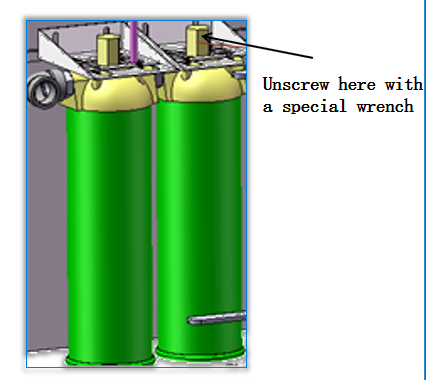
1. Open the bin door at the lower right of the device, remove the filter cartridge with a wrench and take out the built-in old filter element, and install the new filter element after cleaning. Note: When replacing the filter element, it is necessary to wear industrial rubber gloves to drain the liquid in all pipes, liquid storage tanks and filters inside the equipment. So as not to pollute the newly replaced filter element, and not to achieve a good filtration effect.
2. Use a special wrench to open it
3. Remove the filter cartridge clockwise to tighten and counterclockwise to loosen. After replacing the new filter element, install and tighten it. Then start the machine and check the filter for liquid leakage. If yes, tighten it again until there is no leakage
Tank cleaning
1. Clean the filter box and replace the filter screen
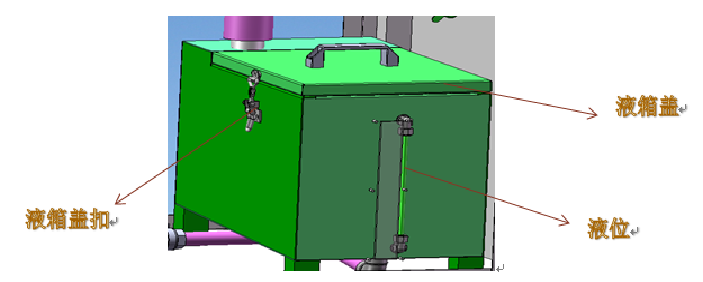
2. Open the bin door at the lower right of the device and unscrew the cover of the liquid storage tank. There is a filter inside the liquid storage tank. Remove the filter bag, clean the filter bag inside and the debris at the bottom with the cleaning solution (when changing different cleaning solution, take out the filter bag, take out the filter bag and rinse it with water before use), and then put it back in the original position. Finally, install the liquid storage tank cover and close the door. As shown in figure:
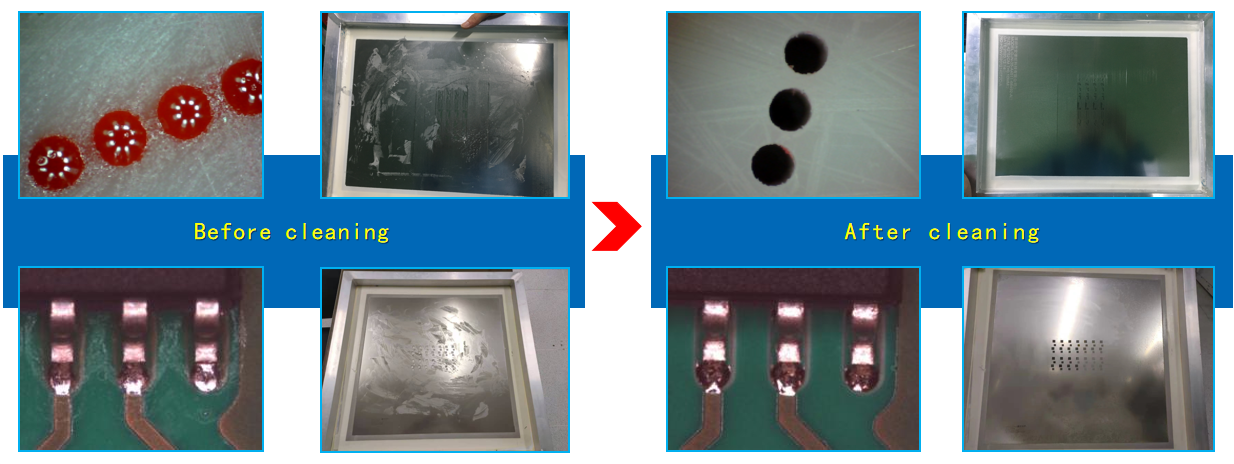
Clean the instance
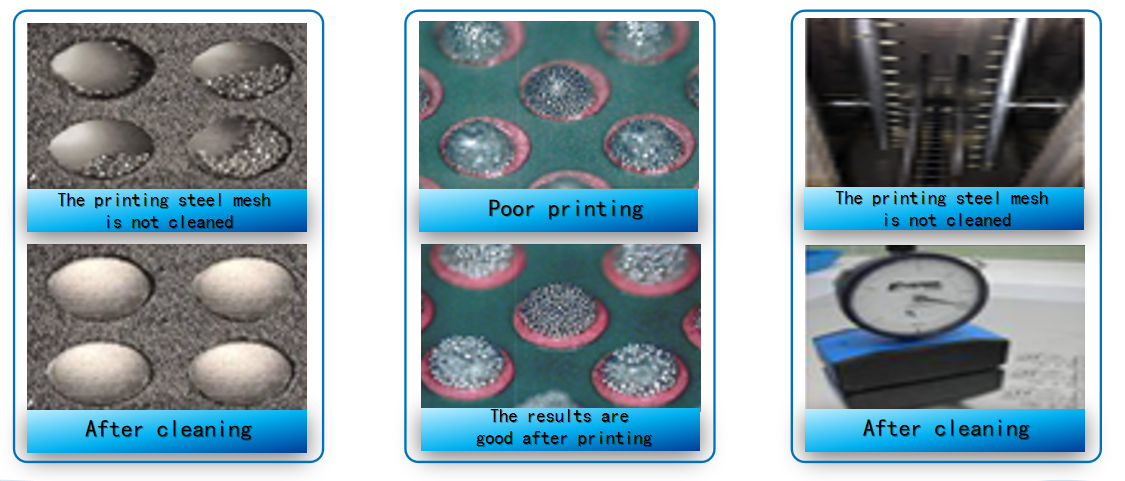
Comparison of Cleaning Examples
Email: caojun@hk-yush.com / evaliu@hk-yush.com